

Audio quality can make or break your podcast.
Most listeners won’t mention bad sound or give you a second chance – they simply stop listening.
The good news is that great audio isn’t complicated. You don’t need to spend hours learning an editing program or mastering new tech. Your episodes can sound better today with a few simple fixes.
Here are five fast, high-impact (and easy) ways to improve your audio and keep more listeners.
1. Create the Right Recording Space
Have you ever heard a podcast where the host’s voice makes you picture them sitting in a cave?
Can you also hear distracting background sounds?
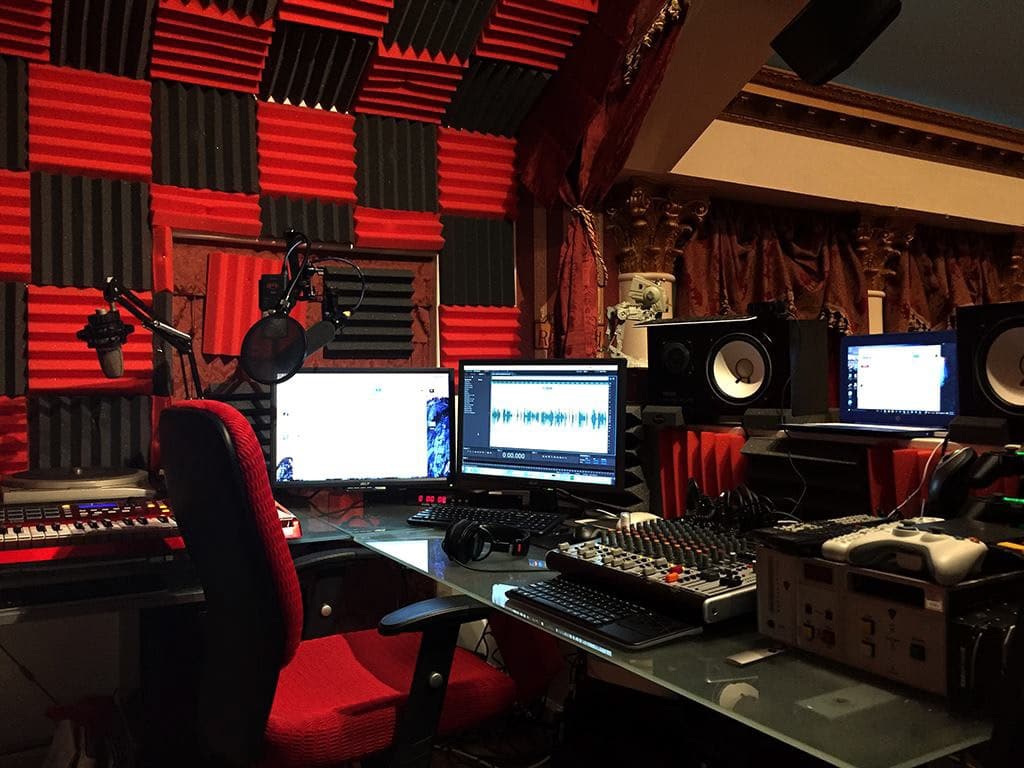
Your ideas, voice, and gear are only as good as the conditions in which you record. Fortunately, this doesn’t require renting a professional voice studio.
Modifying your recording space is simpler than it seems to minimize reverb, interruptions, and unwanted background noise.
Soft-furnished rooms in your house work best, like a carpeted room with a low ceiling. Closets make great recording booths: they’re further from windows, and hanging clothes or stacked sweaters make good sound treatment.
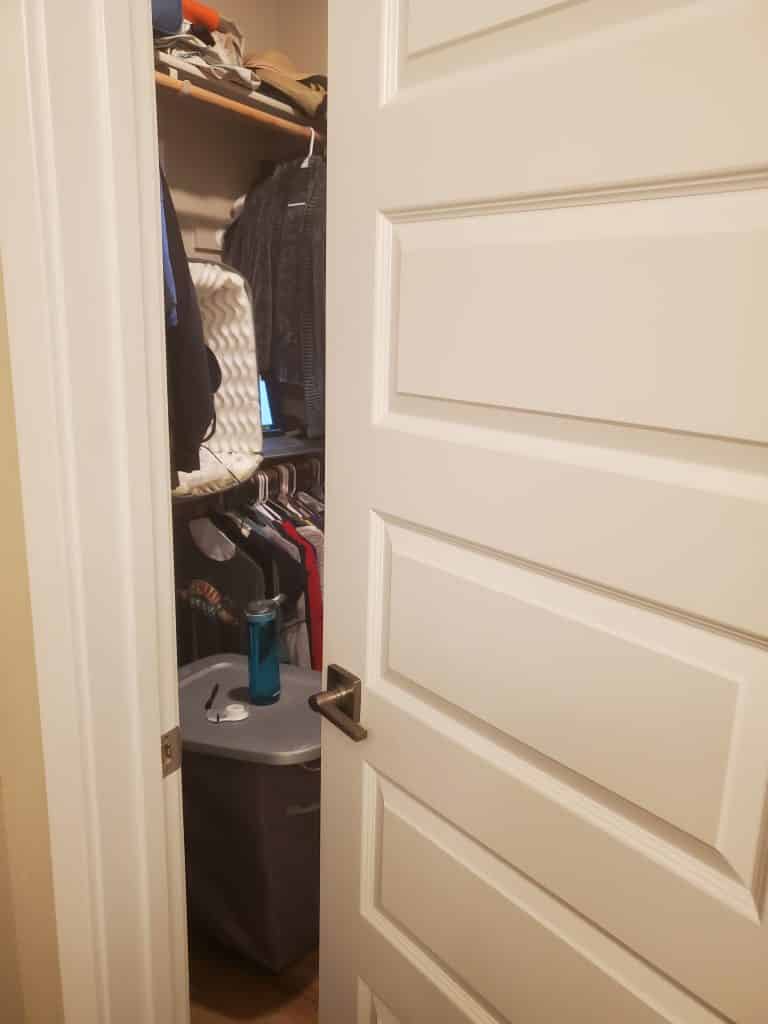
If the room where you record has hard floors and high ceilings, don’t worry about treating the entire room. Localized sound treatment (like a blanket fort or a cat bed around a mic) is surprisingly effective!
If you can’t get your indoor recording environment under control, try recording outdoors. Without obstructions, reverb problems disappear, and any environmental sounds can be part of your sonic landscape.
Be mindful of your recording environment, and your audio quality will follow.
Want more tips? Check out our post on “How to Build a Podcast Studio at Home.”
2. Choose a Decent Mic
Built-in mics on phones and laptops are improving, but still have their limitations. If you’re serious about podcasting, a decent external mic is a worthwhile investment.
The Good news is that you don’t have to spend hundreds on a top-of-the-range studio mic. Instead, you can invest in a versatile, durable workhorse that can help mask less than ideal conditions.
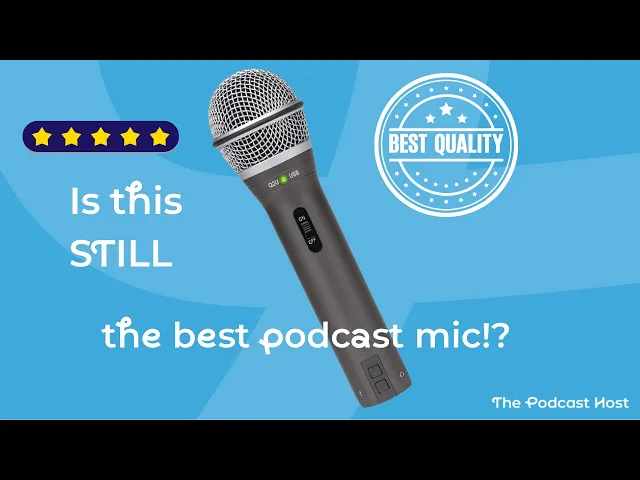
If your home studio is more home than studio, opt for a dynamic mic. Our favourite is the Samson Q2U, which works in both USB and XLR form. That means you can connect it out of the box, just like a keyboard or mouse.
If you want to upgrade your setup further down the line by adding in a USB audio interface or mixer, you won’t need to buy a new microphone.
Looking for more recommendations? Check out this post on “The Best Podcast Microphones for All Abilities and Budgets.“
3. Perfect Your Mic Technique
The ideal mic in the perfect environment can still suffer from poor mic technique.
Some podcasters cuddle up to the mic, capturing every breath and mouth click. Others keep their distance, like a ghost lingering at the edge of the audience’s perception. There’s a shortcut to the right mic distance, and it’s in your hand.
Make a fist, then extend your pinky and thumb as far as you can without straining. Touch your thumb to your lips while sitting comfortably. If your pinky is touching the mic, you’re in the correct zone. Practice recording at this distance while reading something familiar, and get your body’s muscle memory used to the feeling. In time, you won’t even have to think about your proximity to the mic; you’ll know when it’s just right.
Nobody likes those loud “p” and “b” blasts that hit your ears. It almost sounds like the person is spitting into the mic. A pop filter usually helps, but they can be annoying to set up, look kind of goofy, and sometimes make you feel farther from the mic.
Instead of a pop filter, many podcasters prefer pointing the mic to the side of their mouth, rather than talking straight down it like a megaphone. This is all totally down to what feels best for you, though, and a bit of trial, error, and testing will lead you to your optimal sound.
Want more tips? Check out our post on “6 Ways to Make Your Podcast Mix Sound Better.”
4. Monitor Your Recordings
Whether you’re recording an online call, a solo episode, or a co-host sitting next to you, you should be wearing headphones during the recording session.
You might think that, if they can hear you and you can hear them, then all is well. But there are no shortage of issues that can be going on with your audio under the hood, from static and crackling to cellphone interference. Actively monitoring your audio enables you to stop, fix the problem, and get back on track with clean, clear sound.
Alternatively, you can continue the conversation blissfully unaware, only to find this unwanted surprise in the editing and post-production stage.
It’s true, “you can’t fix it in post” isn’t the unbendable law it once was, as we’ll see in the next section. But would you rather make bad audio fine, or good audio great? If you want to stand out with pro-level sound quality, there’s only one answer to that.
Need headphone recommendations? Check out our post “Here Are the Best Headphones for Podcasting.“
5. Use AI Audio Cleanup and Editing
AI audio cleanup has become frighteningly good in the past couple of years.
It isn’t an excuse to get sloppy with your source material, but sometimes, life happens. The Amazon guy doesn’t care that you’ve hit record, nor does the neighbor with the noisy mower. The tiny dog next door does, though, and he’ll soon let you know about it.
Automatic noise reduction from audio editing tools like Alitu can strip out all of these unwanted sounds as if they never existed. Not only that, but they can kill reverb, and reconstruct distant voices to bring them on-mic. It’s almost tempting to disregard all the other advice in this post, but once you let your standards slip there, what’s next to go?

Maintain Consistent Loudness Levels
One thing a lot of podcasters don’t think about is that inconsistent volume between segments can make listeners constantly reach for the volume dial.
Professional podcasters use something called LUFS (Loudness Units relative to Full Scale) to ensure their episodes maintain consistent loudness from start to finish. The podcast industry standard is -16 LUFS, which means your intro music, your voice, your guest’s voice, and any ads should all sound equally loud to listeners.
Think about it: you’ve probably listened to a podcast where the intro blasted your eardrums, then the host was barely audible, then an ad came in at deafening levels. That’s a LUFS problem.
Tools like Alitu automatically mix your episode to industry-standard podcast loudness levels (-16 LUFS), so you don’t have to worry about this technical detail.
And if you’re using RSS.com’s PAID (Programmatic Ads Inserted Dynamically) feature, those ads are already set at -16 LUFS level to match seamlessly with your content.
The result? Your listeners can settle in and enjoy your show without playing volume roulette.
There’s more to post-production than processes like noise reduction, volume leveling, and EQ, too.
Even light podcast editing to remove preamble, fluff, and the odd stumble can streamline your episodes and help respect your listeners’ time.
Alitu’s automatic filler word and long pause removal chops minutes off an episode at the touch of a button, cutting the bloat whilst leaving every bit of value intact. A few years ago, this would have taken hours. Now it takes moments, and the improvement in pace and clarity is immediate.
Check out the audio below to hear how Alitu can clean up, enhance and improve audio.
Small Improvements = Big Difference
Podcasting may feel like a hustle culture enterprise, when really it’s about slowing down, getting cozy, and paying attention.
When it comes to improving your podcast’s audio quality, preparation makes all the difference in the world. Your audience might not know what causes poor audio, but they know instinctively that poor audio quality makes them feel uncomfortable and less likely to stay with you.
Good audio quality, however, invites them to come back for more and share it with a friend. These five strategies not only make your audio quality better, but they also make your podcasting workflow more comfortable and enjoyable. Your voice will show that enjoyment and confidence, and it’ll rub off on your audience. Pick one of these techniques to improve your sound, and try it next time you record or edit your show. The podcast you save might be your own!
Free Training
As we’ve just discussed, if you want to create a podcast people actually stick with, improving your audio quality is one of the fastest wins you can make.
Check out our free training below where you’ll learn practical ways to clean up your sound, simplify your editing, and produce more professional episodes without spending hours in complicated software.