
✨ News flash: an expensive mic won’t automatically result in a good-sounding recording!
Your recording’s sound quality could come out terrible even if you’re using the best cardioid mic or dynamic microphones.
This happens because you may have missed important factors that can significantly affect the sounds your mic picks up.
Below are the most effective ways to get your mic and overall audio quality sounding great.
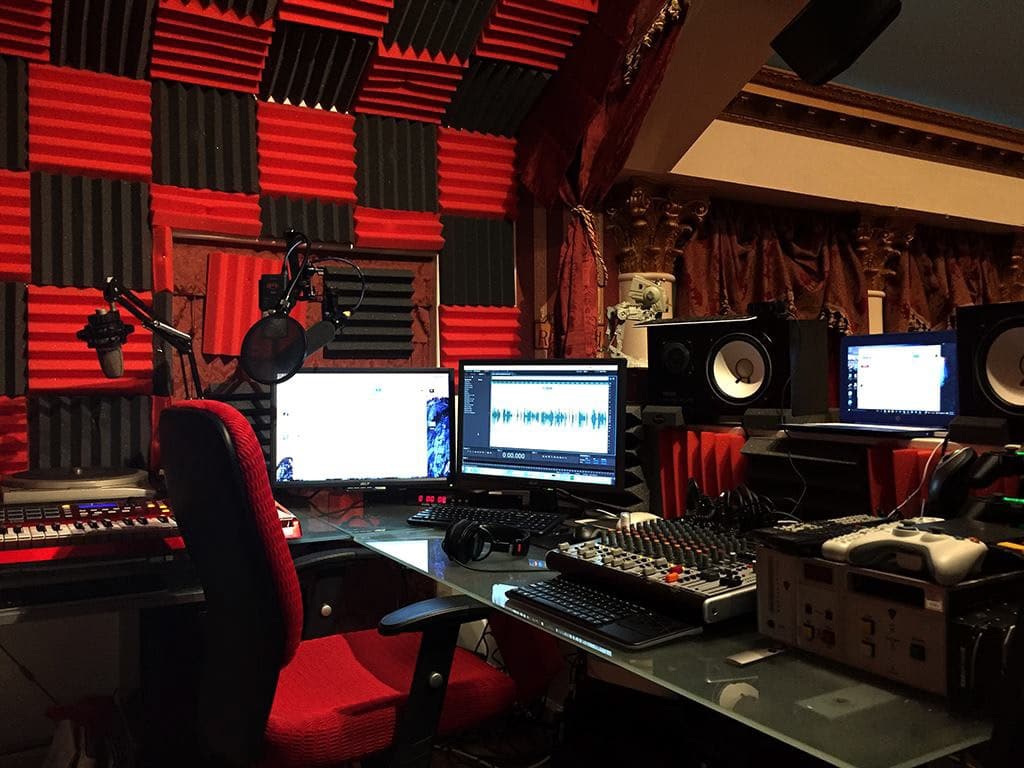
#1- Set Up the Ideal Room
The room where you’re recording your podcast plays a critical role in your podcast’s audio quality.
If there’s background noise seeping into the room from the outside, whether it’s a light cough or a faint sound of your dog barking, the mic will pick that up.
You need to set up your podcast room to ensure that any sound coming from the outside won’t enter the room. This way, you can record in confidence, knowing that its sound quality would come out great.
To do this, find a spot in your home as far away from outside noises and distractions as possible.
If you’re at home, a room on the top floor could make an ideal place for a podcast recording room. It’s away from common areas of your house and is generally inaccessible to most.
Also, consider the size of the room. The bigger the space, the more area your voice can travel within the room. As a result, this makes your voice sound bigger than it should be.
To prevent your voice from sounding big, you should invest in softening the walls in your room with acoustic foam, cotton walls, and others. Even blankets attached to your walls or cushioned furniture in the room help absorb the sound waves and minimize the echo.
This way, you can capture the natural sound of your voice in the podcast.
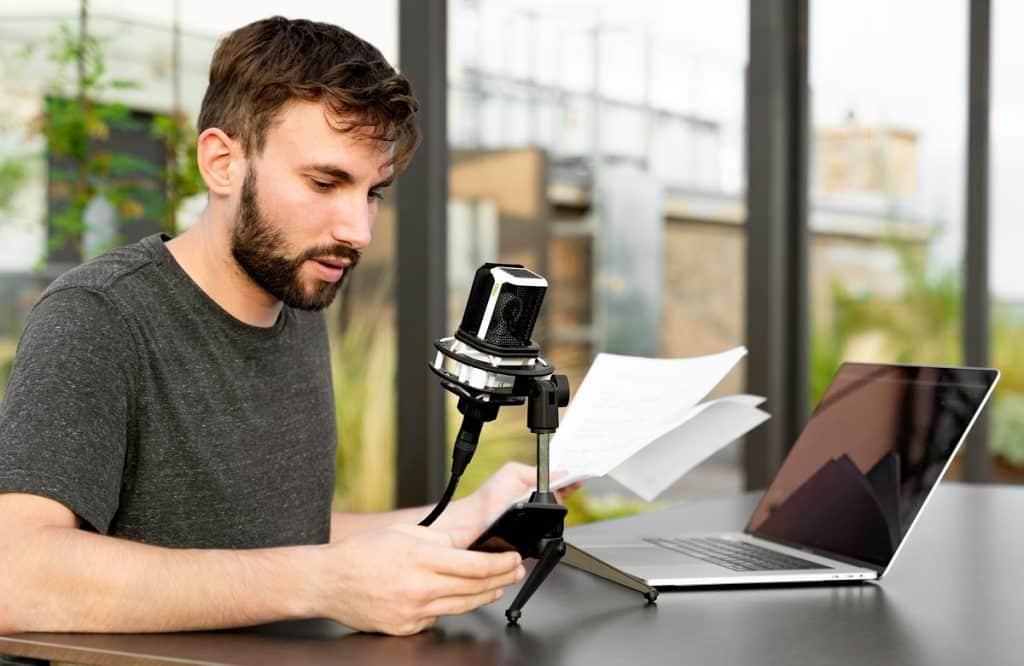
#2 – Find the Right Distance and Position
The distance of your mouth from the microphone also affects the sound picked up by the microphone.
Ideally, you should be approximately eight inches away from the mic. Talking closer than the suggested distance may pick up unnecessary noise.
It’s possible that the eight-inch isn’t producing the optimal podcast sound. In this case, try moving as far as 12 inches away from the mic and record yourself while talking.
Also, play around with the position of your microphone. Depending on the mic, you can tilt it upwards or downwards.
Finally, there’s a “right” side from where you should speak into the microphone. Even if you move away from the mic and change its position, the sound quality remains poor because you’re speaking to the opposite side of the mic. Turning the microphone around ought to do the trick!
Playing around with the mic’s position relative to yours should help you find the best recording quality for your podcast.
#3 – Tweak Your Mic’s Settings Accordingly
Most USB microphones have settings that you can adjust to change how it picks up sound.
For example, a podcast mic has an input dial that you can set from higher (which makes the mic more sensitive to sound) or lower (less sensitive).
Ideally, the mic’s input levels shouldn’t exceed 75%. Making the levels higher will distort the sound it picks up during recording. That goes for all your recording devices—as much as possible, don’t set them to the maximum level to avoid getting distorted audio quality.
The input level would depend on the type of mic you use. Along with your distance from and position to the mic, playing with the input levels of your device should help you achieve the sound you want and need for your podcast.
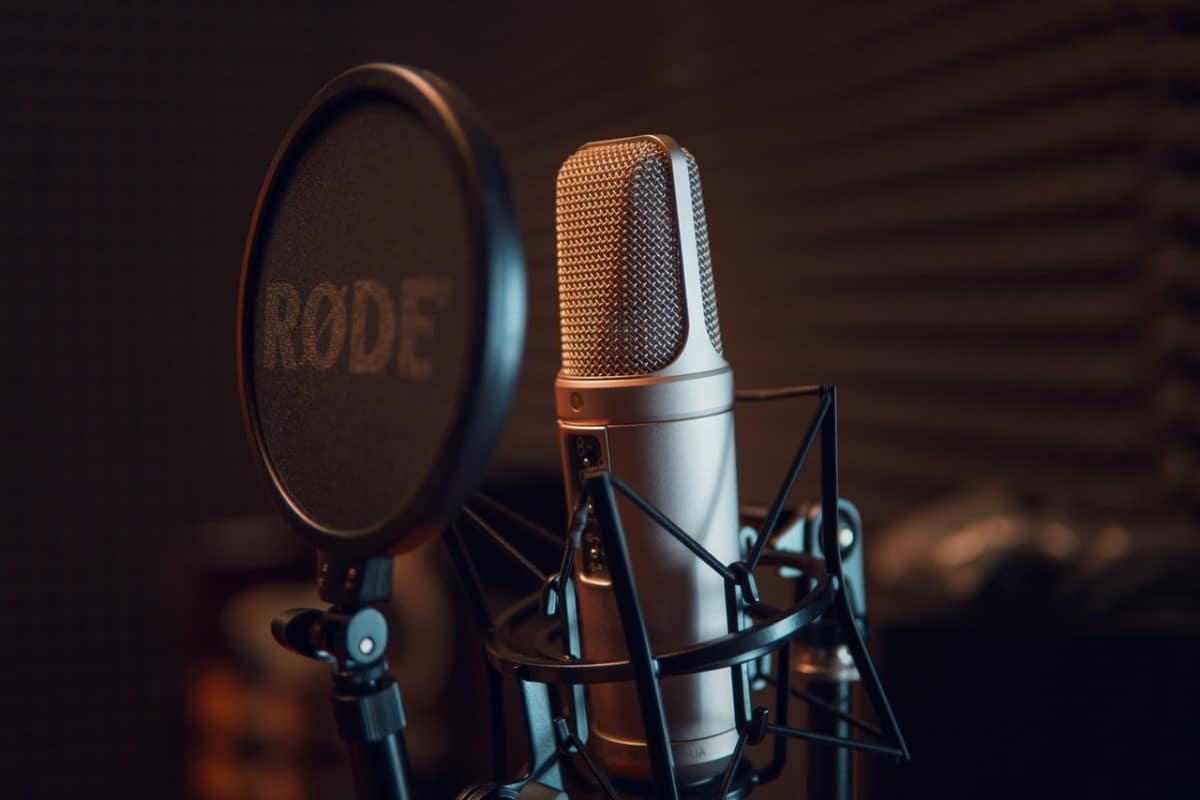
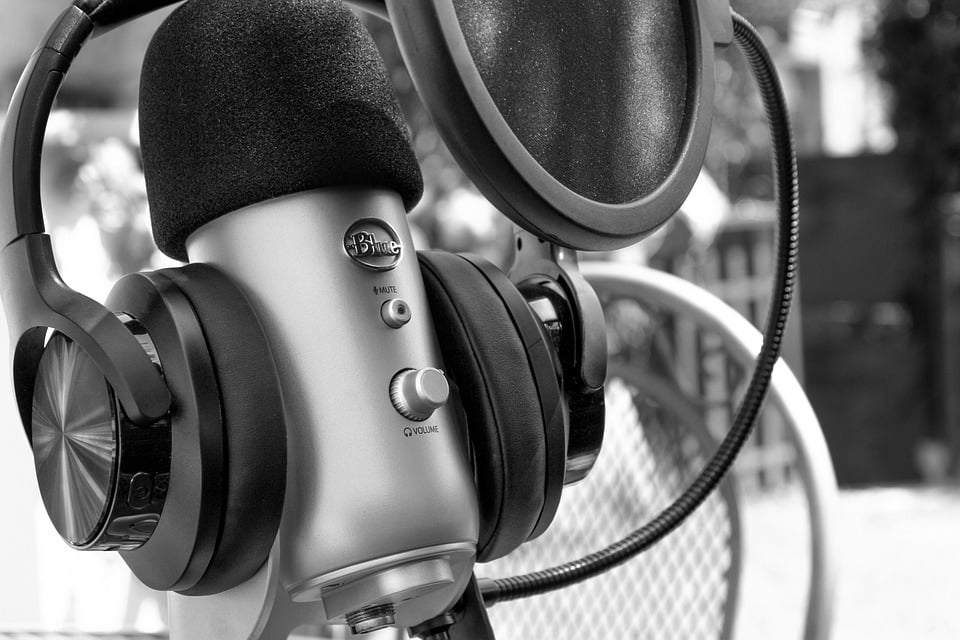
#4 – Use a Pop Filter
Plosives are speech sounds produced by pursing your lips and suddenly opening them to release air. Letters that cause plosives include the voiceless (sound produced from air passing through the mount) t, k, and p, and voiced (sounds that make the vocal chord vibrate) d, g, and b.
Plosives in podcasts may irritate your listeners due to the hard and sudden sound they make.
To minimize the effects produced by these sounds, you should use a pop filter that attaches to the mic and covers it from your mouth.
The filter will dampen the popping sound of plosives and maintain an even sound during the recording.
#5 – Keep Your Microphone Stationary and Away from Your Desk
Keeping your mic steady and off your desk are both key to recording high-quality audio sound.
Why? Your mic will pick up every movement from the table, from pressing the keys on your keyboard to dragging your mouse on your pad.
Using a microphone clamp should solve all your problems. It moves the mic away from the sound frequencies coming from the table.
The clamps are also relatively inexpensive, which makes this option even more appealing if you’re serious about ramping up your podcast sound quality.
#6 – Use a Noise Cancelling Software
If you have no quiet space in your home and don’t have a mic that a clamp can hold, noise reduction software is an option.
Some tools have a built-in noise-canceling feature that automatically remove unwanted noise from your recording, busing third-party software is a much better choice since they offer better flexibility and options on how much noise it can cancel in your recording.
One great option is Krisp, an AI-based noise cancellation app that supports any headset or microphone. Krisp has free and paid plans so you can try it for free to see if it’s right for you.
There’s nothing wrong with noise-canceling apps in general, but recording in a quiet room is the easiest way to achieve a great sounding podcast.