Many podcasters assume that they need to have the largest audio files possible so that their listeners can receive the best quality audio when listening to their podcasts.
These large files can cost their listeners a lot of data usage when downloading podcasts. Or, if the listener is streaming the audio instead of downloading the episode, it can cause their playback to lag or skip when the listener is not connected to WiFi or is in an area with slower internet speeds.
The sound vs size vs quality issue is an issue that comes up for a lot of podcasters and you might be thinking – “I need to have high audio quality for a better listening experience.” However, the reality is that most of your listeners won’t actually be able to hear the difference between 96kbps and 192kbps.
What is kbps?
Kbps stands for “Kilobits Per Second” and is used to measure data transfer speed. One kilobit is equal to 1000 bits per second. That means a 300 Kbps connection can transfer 300,000 bits in one second.
When you opt for the larger file sizes, you actually end up running out of space with your podcast host that much faster. And, to make up for it, many hosts will charge you big fees to compensate for the fact that since these files are bigger, they take up more storage space on their servers.
Even with the 1TB/month bandwidth that we offer our users with our low cost hosting plans, some podcasters still run out of space!

Audio File Size Recommendations
The optimal bitrate, also referred to as bits per second, for most podcasts is in the range of 64 to 128 kbps. However, let’s take this a step further and state the following:
- For shows that feature a single person speaking into the microphone, 64kbps is probably all you’re going to need
- If you will be interviewing guests, and/or hosting multiple guests talk-show style, you may want to kick your quality level up to 96kbps
- For shows that will feature music in stereo, or that play sound effects, your ideal audio quality would be 128kbps
Anything higher than these bitrates, and you’re not actually doing your listeners any favors. It could in fact hurt your listener experience because streaming and downloading larger audio files takes more data and higher internet connection speeds.
With that said, let’s review ways you can convert your audio to save space without skimping on quality.
How to Condense Your Audio Files
The two easiest ways to convert your audio quality are with Audacity and Audio Converter. Here’s how to use both options:
1. Audacity
Audacity is a free and open-source digital audio editor for Windows, macOS, GNU/Linux that you can download to your computer.
To compress your podcast’s audio using Audacity follow these steps:
1. Open the program, and from the drop-down menu under “File” choose the project you would like to alter the file size of.
Note: If you have already downloaded your episode and deleted the original project files, you will need to import your audio first.
2. Next, click “Export” from the drop-down menu under “File,” and click “Export as MP3”
3. Here, you can change the quality by clicking Average in the “Bit Rate Mode” settings, and then using the drop down menu to change the quality level you would like.
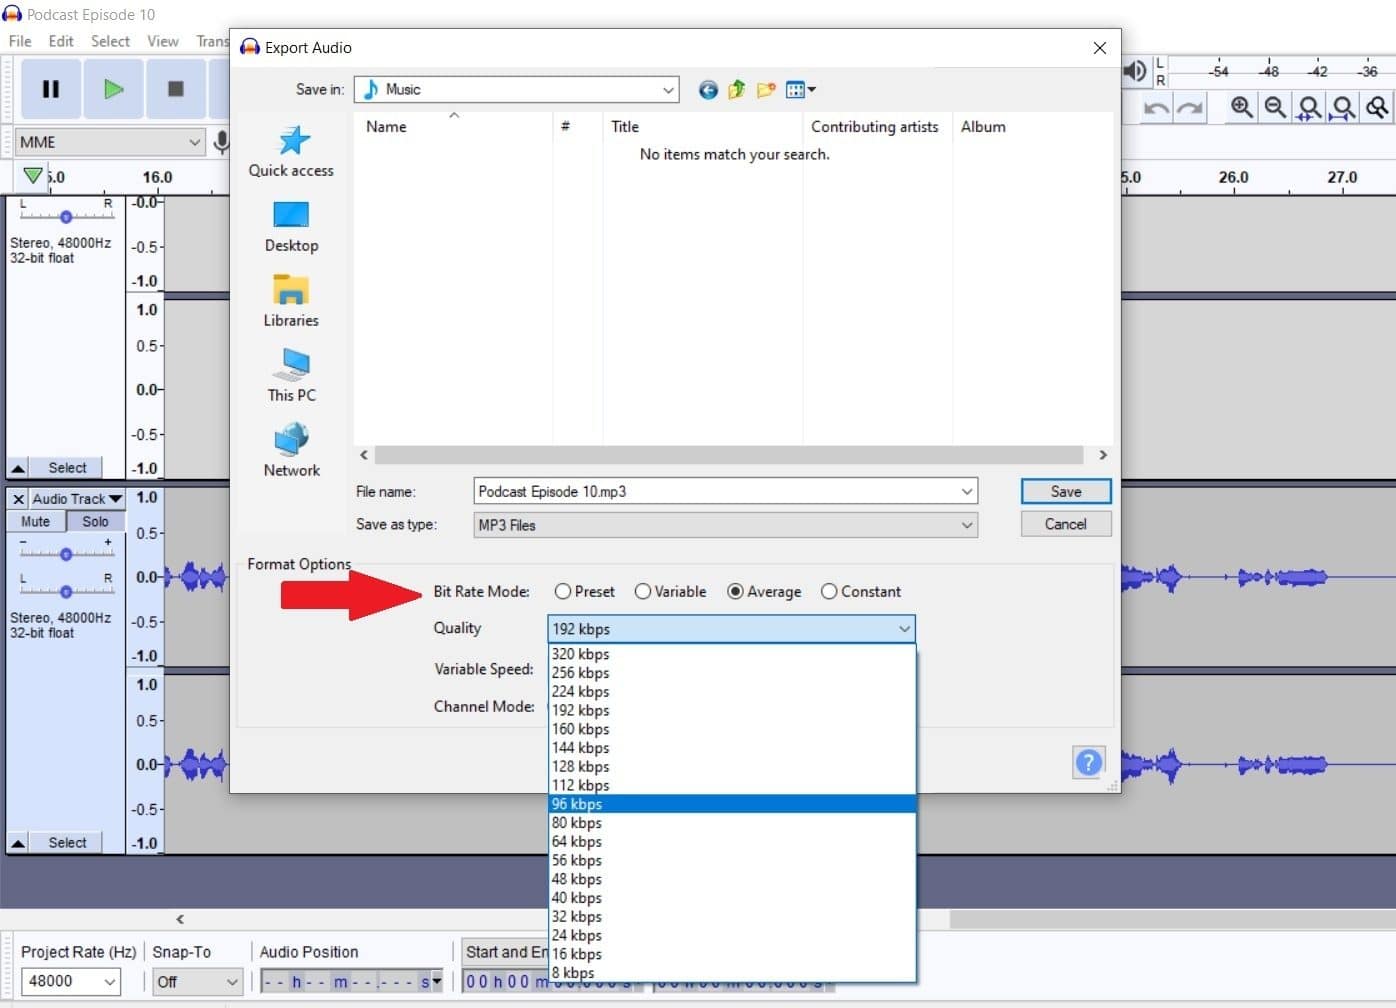
4. Finally, choose the folder you want to save your file to, and click “Save.”
You can either overwrite the condensed MP3 file over the larger one, or change the name and keep both the small and large files on your computer. Keeping both the large and small files may not be necessary if you are keeping your original Audacity program files, however.
5. Load your smaller file to your podcast hosting account, and fill out the details for publication of your episode.
You’re done, nice work! 🙌
2. Audio Converter
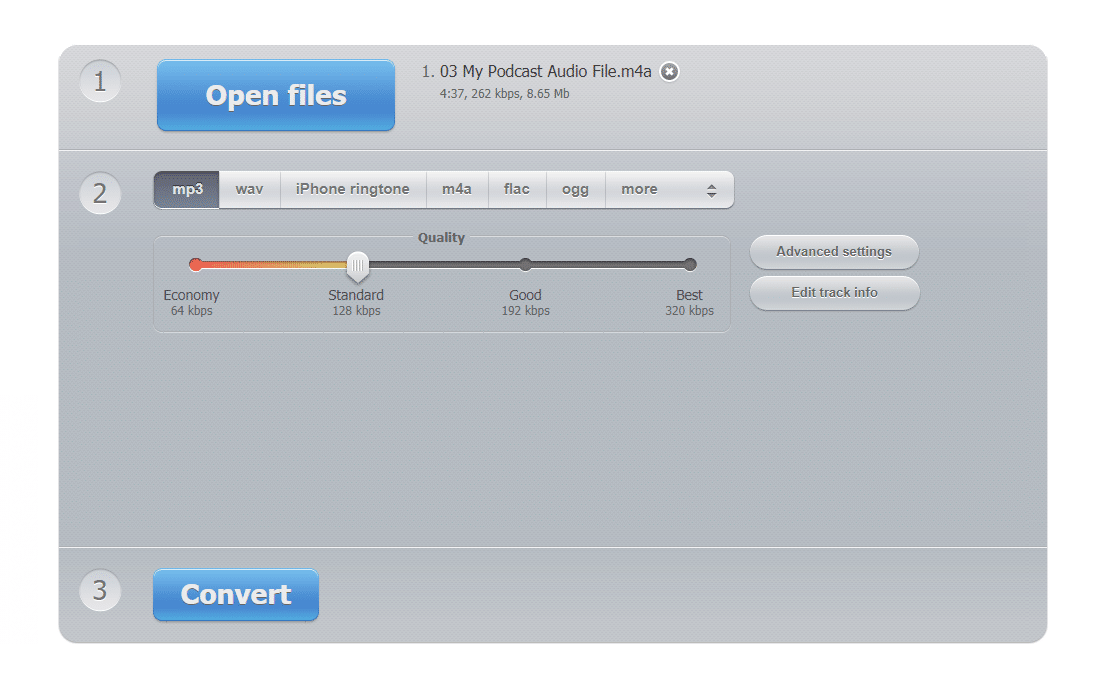
Here are the steps needed to resize your audio files using Audio Converter:
- Upload your audio files to Audio Converter
- Choose the quality you would like to convert the file to
- Click convert
- Finally, download your file with the new size to your computer
Other Ways to Compress Your Audio Size
Here are a few other methods you can use to compress your podcast audio size including:
- Using GarageBand? Here’s a great walk-through tutorial on how to use the compressor feature.
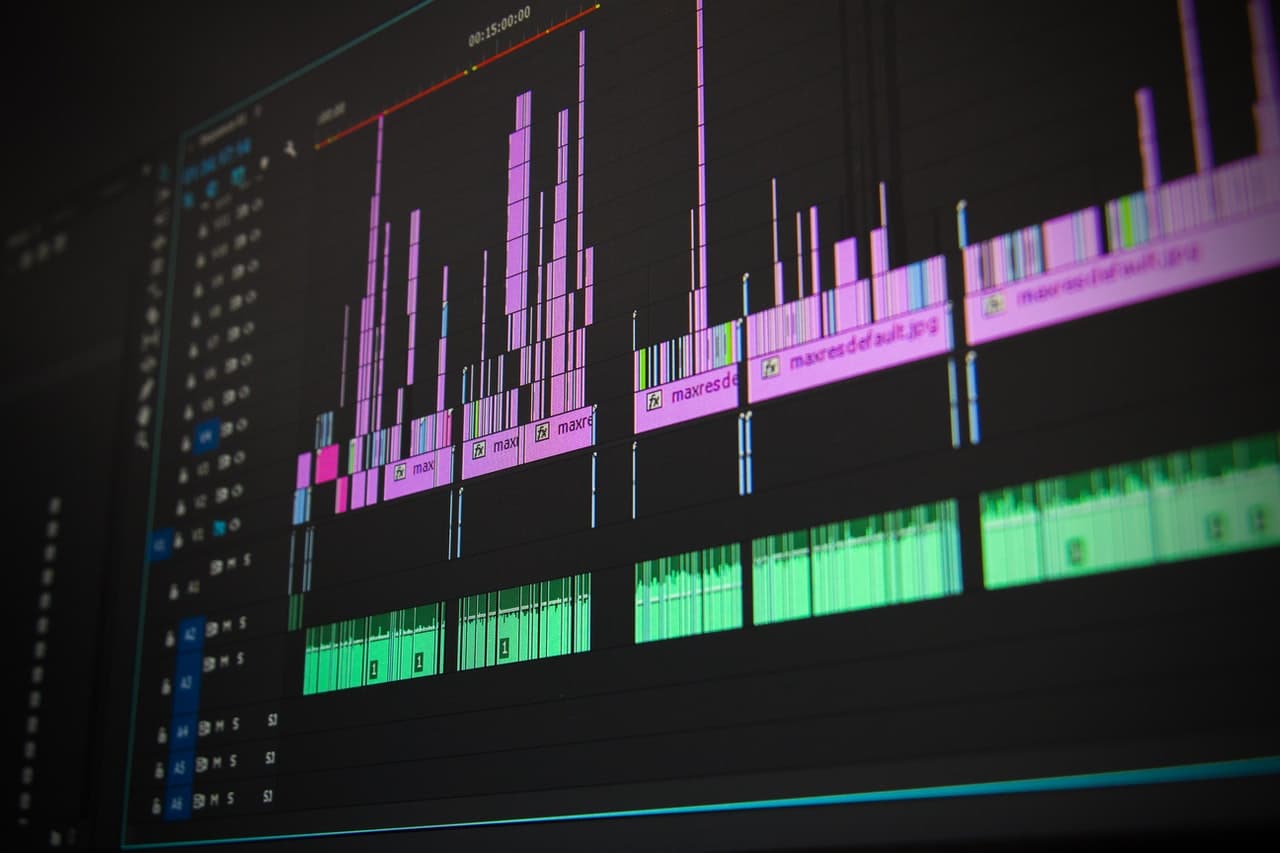
- If you’re using Adobe Premiere Pro, here’s a YouTube tutorial on how to compress your audio
- Compress audio using MP3 Smaller – similar to Audio Converter, you simply load your audio file, choose the size you want to convert it to, click upload, and then click “Download File” next the area at the top of the page that reads “Completed”
- There are other options. Be sure to read reviews and never download anything you don’t trust, or that looks suspicious!
Hopefully, you now feel inspired and motivated to compress your audio files to be a little smaller. Not only will this help you save space with your podcasting host, but it will also help lessen the carbon footprint of your show. 🌲